Friday, November 9, 2012

UR PRICELESS Blog Hop - Day 5 is my day!

This blog hop is sponsored by the wonderful folks at Andover Fabrics  and blogger extraordinaire Madame Samm at !Sew WE Quilt!


WELCOME! to Day 5 of the UR Priceless bloghop - Cheerleader Katherine is our PRICELESS blog coordinator and has the full schedule over on her blog.

Little did I suspect that this blog hop would coincide with my cataract surgery...but I did get four of my purses finished...

Today is my day to share pictures of the UR Priceless coin purses sew here they are!
This purse frame came from I have a Notion.. IHAN, for short!
I've been saving this loose change fat quarter for this bag for a long time! 
Apparently, I'm not the only one who thinks this 'loose change' fabric makes a great little purse!

The frame for this version came from LACI's of Berkeley, CA:   (search for 3" purse frame in their search box)
This one is made from home dec samples.
Each sample piece was just big enough for one pattern piece!
I used jeans thread to sew them to the frames - worked great!

My 'third' purse is on a frame that I bought at JoAnn's - under the Mary Englebreit brand:

This was made from scraps left over from a purse (The Quattro by StudioKat Designs) that I love!

The fabrics are from a line by Lonni Rossi - another of the fantastic Andover fabric designers!  I had saved every tiny scrap... love has no limits in my stash!

...and you can purchase the coin purse pattern from Madame Samm here.


(My camera is starting to go color blind.... keeping fingers crossed!)
Purse Family Foto Op


The Quattro bag with my UR Priceless Purse.
Don't they look lovely together?
Lonni Rossi hand painted silk
 My 'fourth' purse is on another frame that I bought at LACI's - this gorgeous Lonni Rossi hand painted/printed/stamped red silk was all wadded up in a scrap bag - with other silk scraps from Lonni Rossi's shop. She had made a couple of small lamp shades from it... I got what was left... very gratefully!  Been hoarding protecting it for years.
Beading took a little longer than anticipated - but sew worth it!
 Silk is wonderful to work with - but I didn't notice the 'frown' until I loaded this pic!  Kinda looks like a puppet!  What do you think?
bottom seams matched up!  why does it look so grumpy?
 Sew, what to do with the extra beads?  Earrings, of course!  Do you like the royal purple lining? 


The sunset last night was glorious, so I thought I would share that with you, too, just in case you are being snowed in...
 
I hope you like my little purses! 

Now - after you leave me a little word of encouragement.... go enjoy the little UR Priceless Purses by these other bloggers on today's list:

Day 5 - Nov. 9th


Polka Dot Classic

Geta's Quilting Studio

Busy Bee Free

Briarside Lane

Quilts and Dogs

Blueberrymoon

Debbie R

suebee's World

Englating

Les passions de Cliodana

Colorpoint Quilter

On the Go Quilting

Personalized Sketchesand Sentiments

Freemotion by the River

grannygoodstuff (you are here!)

Scrapbook-ChickADoodle 


Monday, November 5, 2012

UR PRICELESS BLOG HOP STARTS NOV 5TH

My day is Friday, Nov 9th - remember to come back and see my UR Priceless purses!

Here's the latest edition of the full schedule:

 
Day 1 - Nov. 5th


Quiltin' Jenny
Hill Valley Quilter
Loopy Lou's Adventures Into Handicrafts
Just Let Me Quilt
Lixie Makes It
Beaquilter
Sunshine, Handmade
Buzzing and Bumbling
ANNIEOFBLUEGABLES
Needled Mom
The Slow Quilter
A Quilting Sheep
I Have A Notion
Quilt-n-Queen

Day 2 - Nov.6th


The Crafter's Apprentice
Jane's Fabric and Quilts
Rosemary B
Why-Knot-Kwilt
Random Thoughts..do or "di"
Mary T.
Supermom No Cape
Lily Pad Quilting
.Quiltscapes.
Stitch, Stitch, Stitch
Rose Creations
The Treehouse
Gracie Oliver Arts
Quilting Prolifically
Stekje
Grammie Q's

Day 3 - Nov. 7th

I Love Wool
I Like to Quiltblog
Keep Your Fork There's Pie
Retired to Quilt
Selinaquilts
From This to That
Jenny E.
Domestic Deficit Disorder
Pig tales and quilts
CherrysPrairiePrimitives
Espritpatch
Maria
Count it all Joy!
Creative Notions

Day 4 - Nov. 8th

as sweet as peaches
Deborah B
Birgit H
Fish Creek Studio
A Quilter's Table
Lily Patch Quilts
Cherry Blossoms Quilting Studio
Mary F
Rose Prairie Quilts and Farm
The Desert Rat Chronicles
Sally K
Paris at a Certain Age
From Blank Pages
Quilt Taffy
Barb H

Day 5 - Nov. 9th

Polka Dot Classic
Geta's Quilting Studio
Busy Bee Free
Briarside Lane
Quilts and Dogs
Blueberrymoon
Debbie R
suebee's World
Englating
Les passions de Cliodana
Colorpoint Quilter
On the Go Quilting
Personalized Sketchesand Sentiments
Freemotion by the River
grannygoodstuff
Scrapbook-ChickADoodle


Day 6 - Nov. 12

Read, quilt, cook, pray...
The Learning Curve
Bacon Then Eggs
Nati's Little Things
by Mary
Feltfree på Åsly
El Patchwork de la Abuela
Amy's Crafty Shenanigans
Maryjo J
s.o.t.a.k. Handmade
Chloeandme
Janice M
throw a wench in the works
Everyone Deserves a Quilt
A Stitch in Time
Sew Me Something Good

Day 7 - Nov. 13

Julia P
Tina
Dachsies With Moxie
Marci Girl Designs
The Sunflower Patch
Wish upon a star
Mary on Lake Pulaski
Greco Mara
Linda M
Mack and Mabel
Dreaming in Patchwork
Judith Handmade Treasures
Kaydie
Caesarea Scrappers
Patchouli Moon Studio

Sew.Darn.Quilt.
Sew We Quilt


Thanks to Madame Samm and Katherine for organizing this blog hop!

Tuesday, October 16, 2012

tutorial - zippered bag with inside pocket

warning - this is lengthy....

zippered bag with inside pocket.
a nice deep bag to hold all your cosmetics or sewing supplies!
Supply list:
2 fat quarters one for outside, one for lining
 + a strip of contrasting fabric (could be on of the fq's )
a zipper - I used a 14" zipper from my stash - a 12" would be long enough.
fusible woven interfacing 18"x20" - I like Pellon's SF101 

Fuse the interfacing to the outside fabric before cutting - easier than cutting and fusing all those little pieces!  But, you can also wait to iron on the interfacing until after the front of the bag is assembled.  I was already using scraps for this bag, so that's what I did this time....
you will need matching thread - a 1/4" foot and a zipper foot for this.


 the zipper from my stash... still good after all these years!


  Cut 2 lining pieces and ONE outside piece 9" x 12" - set aside.

cut a piece from the outside fabric 3" x 12" for strap -  fold in half lengthwise - press center crease, fold raw edges into center crease and press again then topstitch along both long edges - set aside for now.... remember to set the ends of the strap into the tab side of the bag before you sew up the outside seams!

this lesson also included making a partial seam block - sometimes known as a "Patience Corner" - looks like a simple framed square, but the constructions is a little different!  Notice the strips that surround the square are all the same length!


here is a sketch to remind you of this:


Add fabric strips to your block to bring the overall size up to 9"x12" - same as the lining(s) and back.

Cut 2 pockets from your remaining fabrics.  any size - how big do you want your pockets?  I cut mine about 5"x6"... because that's how much fabric I had left... it's a good size, esp. for little things that get lost at the bottom without a pocket!

 with right sides together, sew both sides, then trim the corners...
 and turn right side out - notice the bottom of the pockets are raw edges at this point....
 position pockets with the top of the pocket toward the bottom of the lining - about half way down, depends on how big you cut your pockets - just make sure they are far enough down in the lining that they won't get caught in the zipper!  (I made sure mine were wayyyyy down there).
 now, sew across the bottom of the pocket
 Fold the pocket up over the raw edges
 make sure the pocket is parallel to the top edge - allowing for zipper seam allowances
 then sew (topstitch) through sides and bottom of pocket - backstitching at top corners for extra strength!
 Now, you are reading to insert the zipper - take it out of the package, if any, and press it nice & flat...
layer edges as follows:
1 lining piece facing up
zipper with tab facing up - zipper should be hanging out of both ends - this is intentional!
outside (block) facing down
 I use a lot of pins.  ...always check to make sure your zipper tab is toward the outside of your bag...at this point, the tab is showing at one end, so check before your sew! .... makes the bag SO much easier!
 sorry there isn't more of the zipper showing in these pics... it's not easy to sew with one hand and operate the camera with the other... at this point, the zipper tab is towards me, facing up.
 ...after checking to make sure the zipper tab faces the outside of your bag, press those seams away from the zipper and topstitch about 1/8" away from zipper teeth - this will keep the lining from getting caught in the zipper!
 join the other two bag pieces to the zipper the same way - align the edges with the zipper partially opened


For an excellent tutorial on the zipper application… check out this bag at the MODA Bake Shop:  http://www.modabakeshop.com/2011/08/scrappy-apple-bag.html#more


 you will need a strong pair of scissors to cut through the extra zipper when you finish the bag...... mine had an accident!

Before the next step, make sure your zipper is 1/2 open - you will need to get your hand through it to turn your bag right side out.  Do NOT cut the zipper tab off with the zipper closed!  (don't ask me how I know!)


Now you will pin the two outside pieces together all the way around, with the STRAP inserted just below the zipper, loop toward the inside (so it will be on the outside after turning), raw edges aligned, and pin the two lining pieces together all the way around - mark where your opening will be so you can get your hand through and sew with a 3/8" or 1/2" seam from bottom of lining, up the side, across the strap and zipper (notice how the zipper teeth go toward the lining?  that's a good thing!) and continue sewing all the way around to the other side of the opening in the lining.


Now, before you jump the gun and turn that bag right side out... put a piece of cardboard or file folder along that opening right where the seam would have been... and press it open against the card - this makes the closing step so much easier!

You will  now be ready to 'box' your corners.  You can do this by folding the seams together and sewing across the seams and trimming the extra away (make sure you get them all the same!) OR you can cut a little square out of each corner (I cut mine 1 1/2" including the seam allowance) and pull the raw edges together to close the box.

which ever you prefer... the links in the above paragraph to Lazy Girl's blog or Craft Apple both have excellent instructions for these methods.

 align the opening and sew it closed with a very narrow topstitch - backstitching at both ends.
 nice and straight...
 oops - wrong side out...

 there, that's better!
 I added a little something to make it easier to grab that zipper!
 It won't be empty long!

 whew!  I'm ready for a cup of tea now....

Sunday, October 14, 2012

Daffycat Day TUSAL check in for October

Wow, that's been a fast month!  Here it is 'New Moon' time already!

This is a little glass basket that a friend gave me filled with this month's ORT's...

You can see the other TUSAL ORT containers through the links on Daffycat's blog.

This was a cute little quilt that I quilted for a friend.

I did finish the third panel of my "Over the River and Through the Woods" quilt - now I'm planning the borders and spaces between the panels, because the original quilt would be too large for my quilt rack - I need to 'reduce' it a bit and still make it look as much as the original Crabapple Hill design as possible.
pattern  -  as designed
They have several other embroidery designs I'd love to try - but so many projects are already in line first....

but this Which Witches Boot is definitely on my bucket list!


I've quilted 10 baby/kid quilts for Quilts for Kids this past week...similar to the one pictured above... just the quilting, mind you - these tops were all made by the busy hands of the Quilt Company East Quilt Guild of Churchill, PA - and they will all be doing the bindings on these quilts as well...  but it's still a good feeling to have them all quilted in time for our meeting on Monday evening!  Now, there's no way I'll bore you with 10 very similar quilt pictures...  trust me!

I've also made a couple of these little zippy totes with the NewBee class... look for the tutorial to be posted here soon...

 notice the Patience Corner block in the center!


I spent a lovely day with friends Priscilla and Mary enjoying the Coverlet Museum in Bedford, plus a terrific lunch at the Jean Bonnet Tavern and a stop at a quilt shop with wonderful fall foliage all along the way!


we also stopped at the Flight 93 Memorial Chapel to see the quilted banners:


that's it for now - I need to get back to the studio!
see you again soon!

Monday, September 17, 2012

Daffycat Day TUSAL check in for September

Here's my update for September... well it's hard to call it an update since this is the first time I've posted TUSAL.

My ORTs are present and accounted for... on the day of the new moon!
full quart!
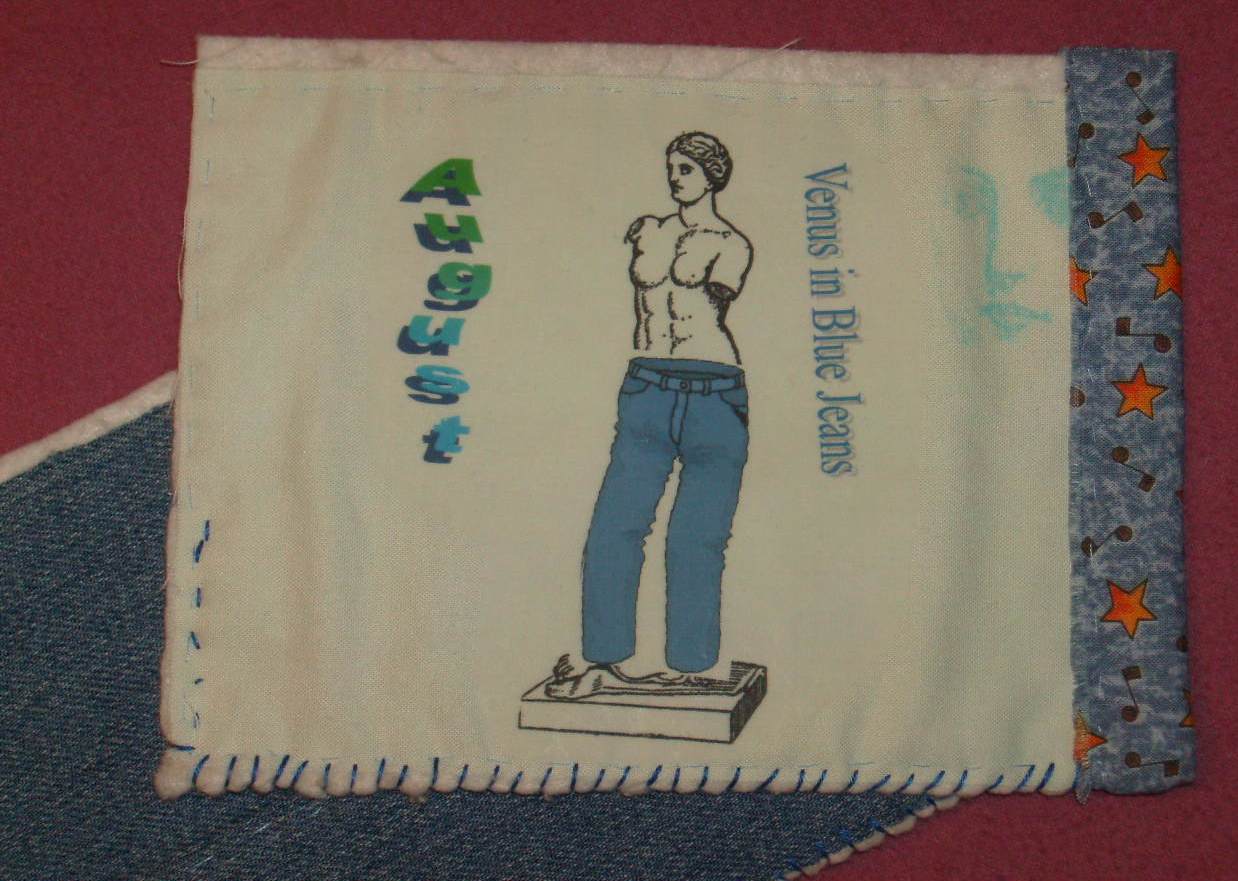
August journal page - based on a song or movie - I know, this shows my age...


this is my humble addition to a progressive quilt...

just a little orange and purple...
 
this has been made into a travel pillow - and is now on display at Zara's Place!

my second paper pieced tree has found a home on my Ackfield Wire table top quilt stand!

yes, I'm doing a winter quilt in greens... go figure! 
 This (above) is the third of the three panels in the Crabapple Hill Quilts pattern ... started last January while dh was in surgery getting his new pacemaker.  This panel is going MUCH faster than the other two!

I made 9 tea wallets so far... these little things are sew addictive! - see my tutorial for these!
Here's a link to the wallet tutorial
I also free motion quilted this little bag - and discovered that installing a zipper on a curve is a lot more 'interesting' than a straight one!

So that's it for today - I've decided to shop for a prettier container - maybe an elegant tall vase?  I was so sure I still had that enormous brandy snifter from Princess House... but it's either been broken, given away, or is really good at hiding!

Now, if you'd like to know what the other 400 or so Totally Useless Stitch A Long'ers are storing their snippets in... check out Daffycat's blog for the linkups!  http://itsdaffycat.blogspot.com/